Last week we had a family birthday party to celebrate all 5 grandchildren’s birthdays. Three of their birthdays are on consecutive days and the fourth less than a month before, so we just throw one big party. Most of the family loves angel food cake, so that’s my contribution to the festivities. There are usually about 30 people, so I make one cake and a batch of angel food cupcakes. The result of this is two dozen leftover egg yolks – hence – Pasta Day!
There are so may pasta recipes out there, many of them using the whole egg, but this is my go-to. It’s easy and flexible, and if I haven’t made an angel food cake first, I can make egg white omelets with the leftover whites.
Here is the basic recipe:
- 3 1/2 cups flour
- 1 tsp. salt
- 12 egg yolks
- enough water to get the right consistency (1/4-1/2 cup)
From here you can get creative. Add garlic, herbs, tumeric, tomato paste, wine, squid ink, the juice of beets, carrots, or spinach, etc. You can also sub whole wheat flour for part of the flour. (It will change the texture and make the dough a bit harder to work with.) As you can see, you could pretty much make a rainbow of pasta.
Today I decided to do one batch of garlic and basil and a batch of tomato.
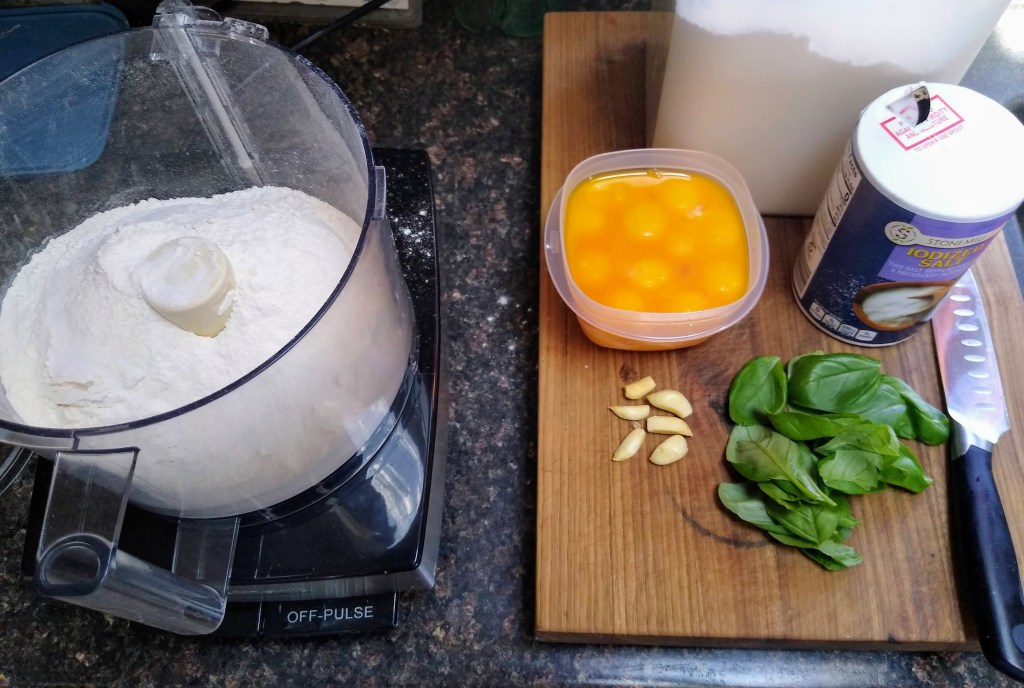
This is what I started with for the garlic basil pasta. I like to use fresh ingredients because they add more flavor, but you can definitely use garlic power and dried basil as well.
I make my dough with the food processor. Although it came with a plastic dough blade, it doesn’t reach the sides, so I use the regular chopping blade. Add the flour and salt to the processor bowl and pulse a few times. If your adding other dry ingredients like spices, you would add those right away as well. Next I add the garlic and basil and mix a few seconds to get it chopped up finely.
Then it’s time to add the yolks. I turn on the processor and pour the egg yolks through the tube one at a time. At this point the mixture will resemble course crumbs, and won’t hold together well.


If you are adding other wet ingredients, such as squid ink or tomato paste, you would do it now, mixing until the ingredients are blended throughout. For example in the next batch I made, I added the tomato paste after the eggs, but before the water.
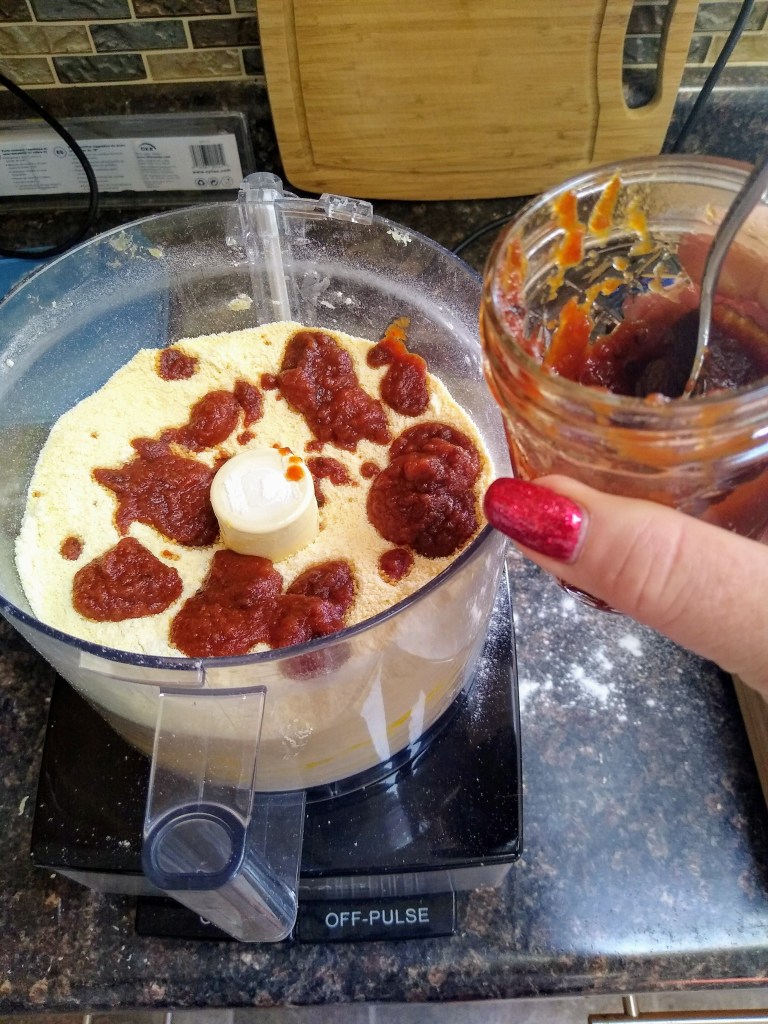
When adding the water, do it slowly through the tube as the processor is running, stopping when the dough starts to hold together. If you are using beet, carrot, or spinach juice, or wine, you would sub it for the water. One thing to keep in mind when adding flavored and colored ingredients is that you will lose a bit when boiling the pasta, so you can add more than you think.
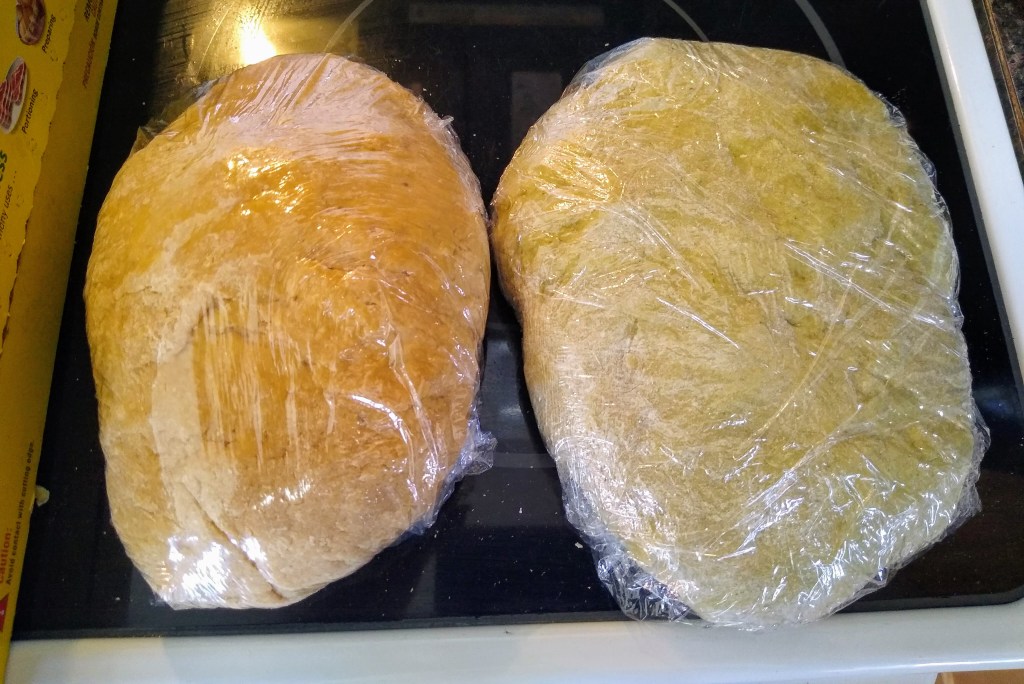
When it’s the right consistency it will hold together and be about like play-doh – pliable, but not sticky.

Dump it onto a floured surface, pull it all together, and knead it for a few minutes. Wrap it in saran wrap and set aside about 30 minutes to rest. This is time enough to make the next batch.

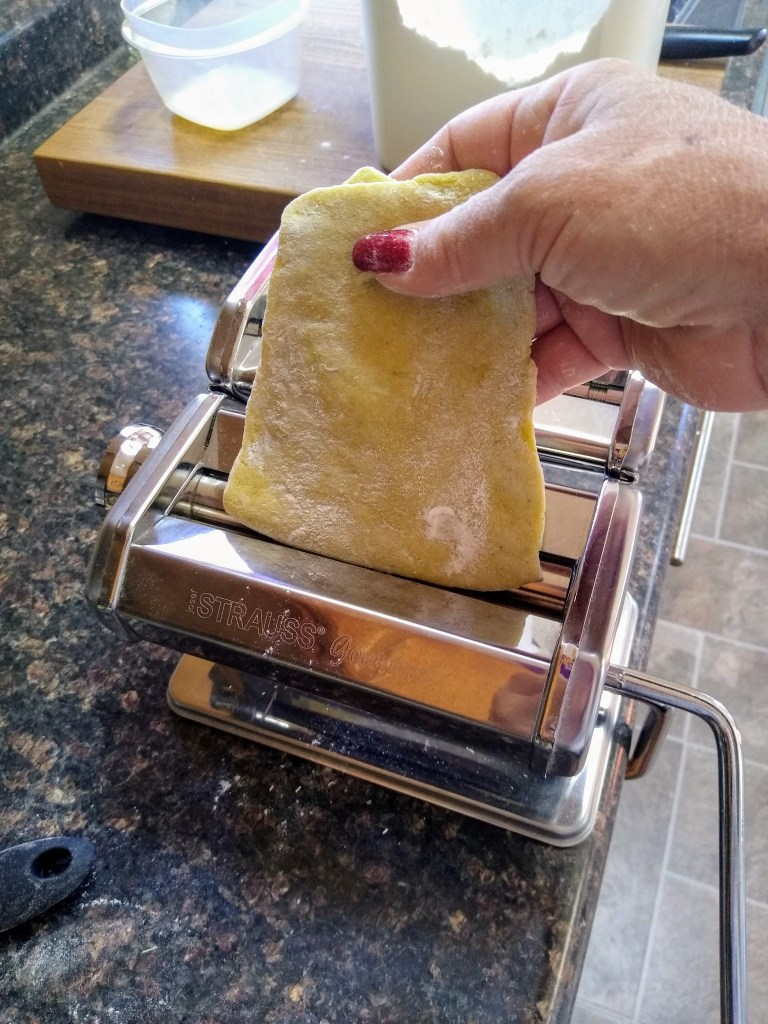
Now it’s time to make the pasta. I have a pretty basic manual pasta maker that cost about $25 a few years ago. It came with the basic attachment for angel hair and fettuccine noodles, but I also purchased a lasagna attachment. Some have electric machines or attachments for their Kitchen Aid mixers. Use what you have or can afford. I’ve also made it using a rolling pin and pizza cutter, so no need for any special equipment at all. A wine bottle can also serve as a rolling pin. Ask me how I know this. 🙂

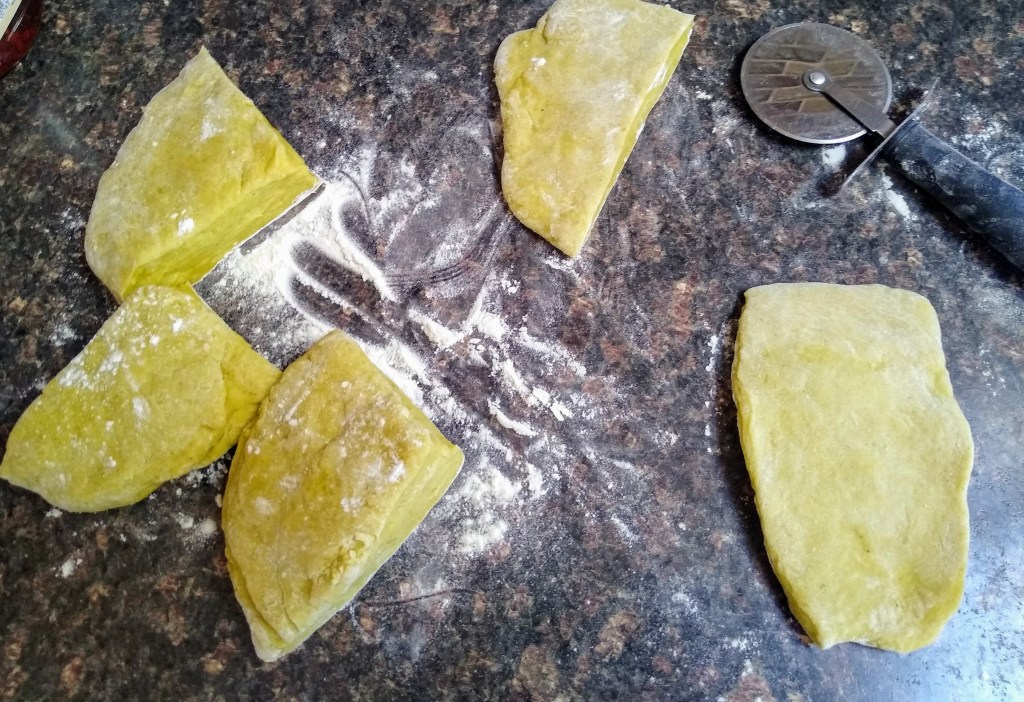
Divide the dough into 8 pieces. Working with one portion at a time, press the portion flat enough to fit into the widest roller setting. On mine it’s 7. It’s easy enough to do by hand, but you can use a rolling pin if you want. Run it through the roller, fold it in half, run it through again, fold and run it through a third time. During all the folding and rolling, you’ll want to keep your counter floured so you can keep the dough from getting sticky.
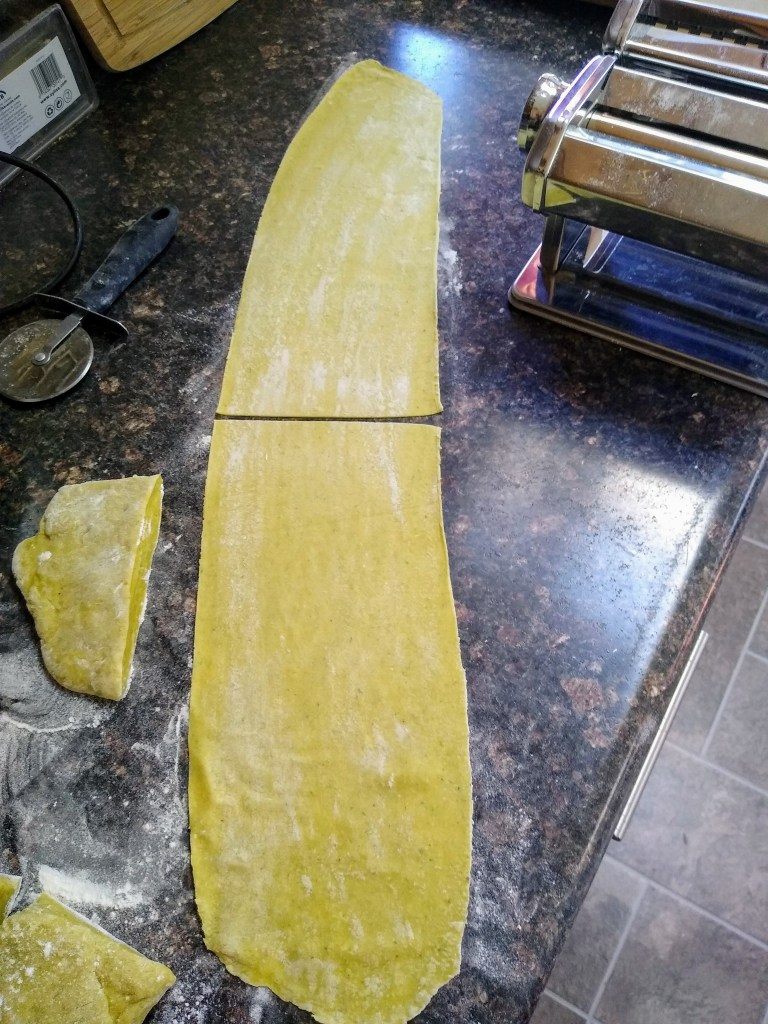
After you’ve run it through three times at the widest setting, move down a couple of notches – to 5 for me. Run it through once and move down a couple more notches, to 3. Now, if I’m doing angel hair, I stop at 3. For fettuccine, I go one more round at 2. This is what it looks like at that point, so I cut it in half so the noodles aren’t too long.
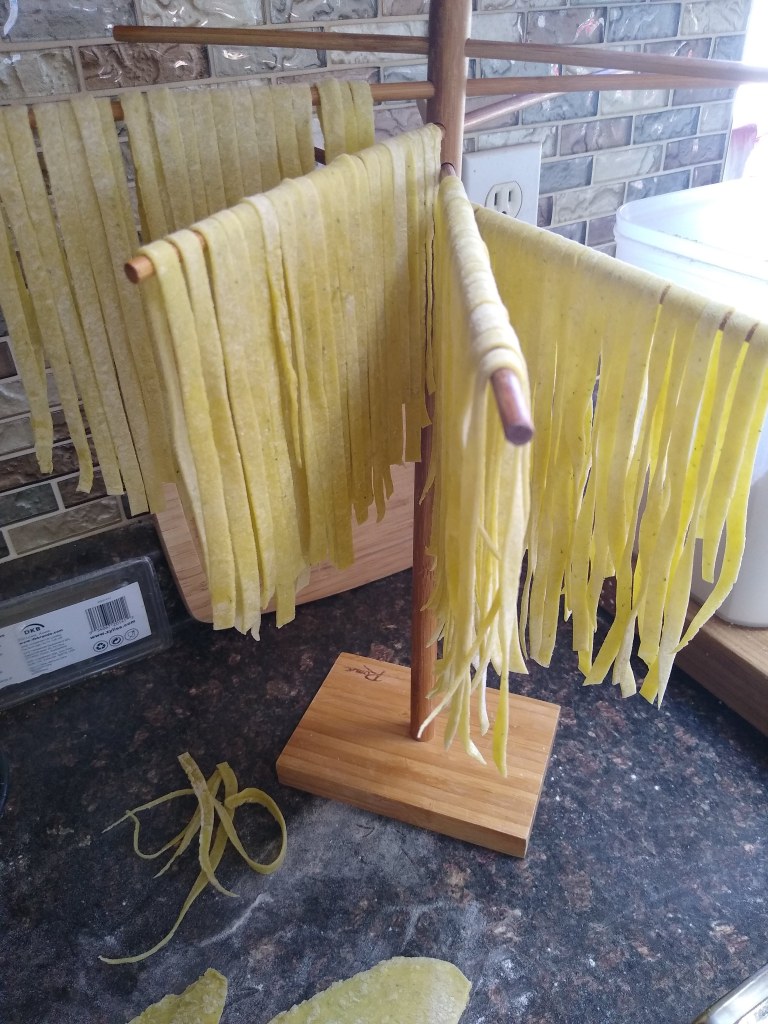
Now you put it through the cutting side.
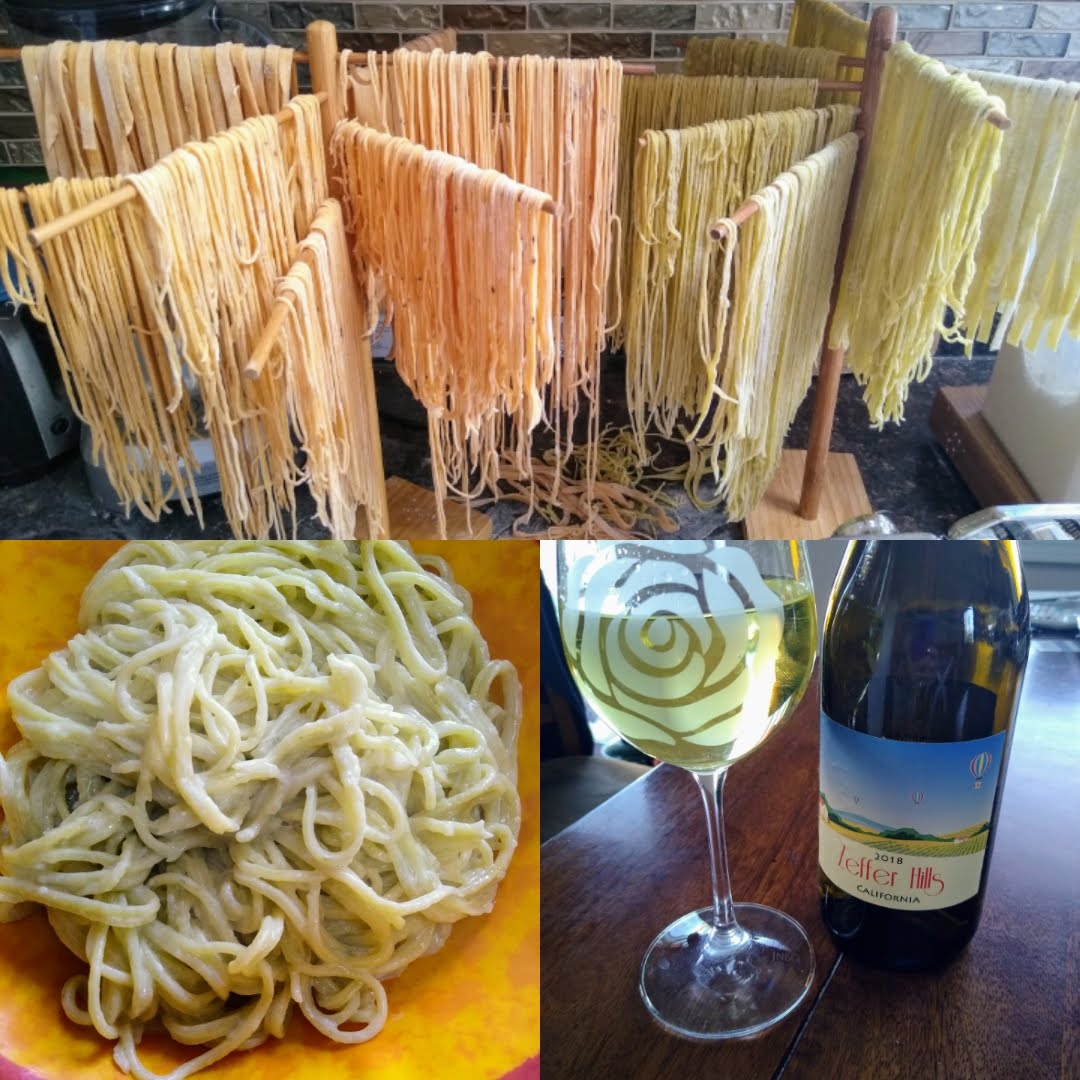
As you get them cut, hang them to dry overnight. I bought a couple of pasta drying racks, but you can also use a coat hanger or spread them on a dishtowel.

You can cook it at this point. Otherwise, after it’s dry, put it into plastic baggies and refrigerate if you’re going to eat it within a few days, or freeze for later use.
When cooking, keep in mind that it won’t take as long as store-bought. I’d start checking it at 5 minutes.
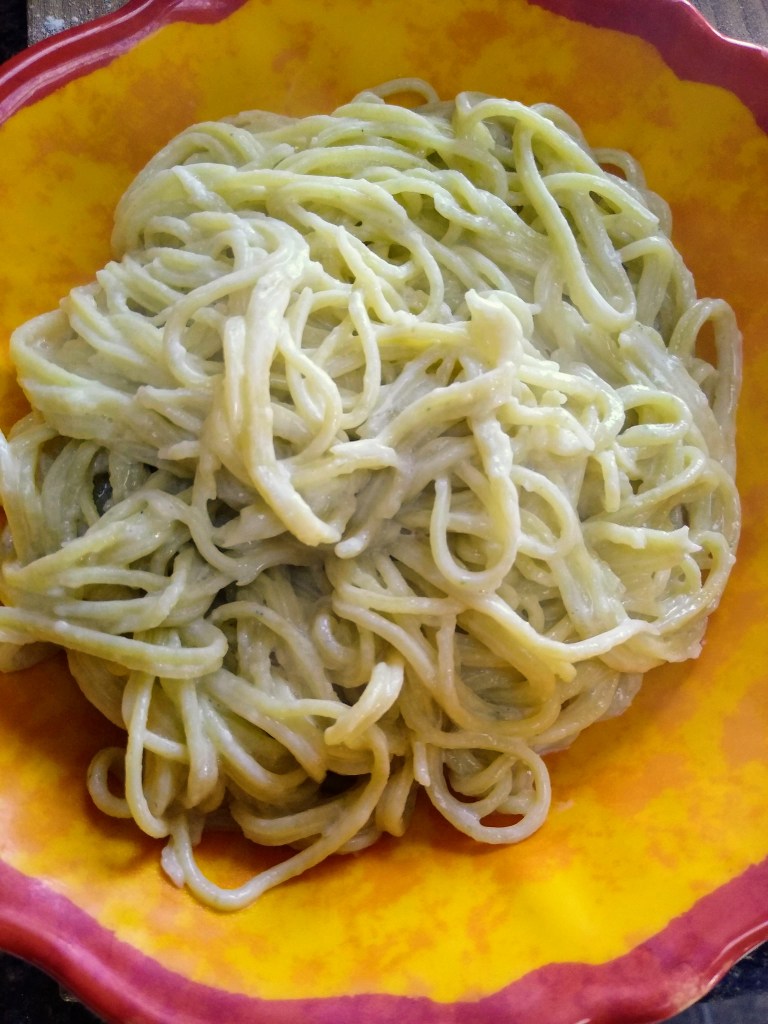
I couldn’t resist. I made some immediately for dinner. I made the garlic basil angel hair and after draining, I made a quick sauce of butter, half and half, and Parmesan. It was perfect, especially paired with a Chardonnay.

Let me know how if you try this recipe and how it tuns out, and what varieties you try!

